Perfect Strawberry Rhubarb Pie

Thanksgiving snuck up on us last year — we thought we’d play it cool and celebrate by going out for a meal with some Aussie friends but it turned out we needed more of a fix.

This time we’re on the ball! We’ve already had a Friendsgiving and a Worksgiving (is that a thing?) and the real Thanksgiving isn’t even for another 5 days.

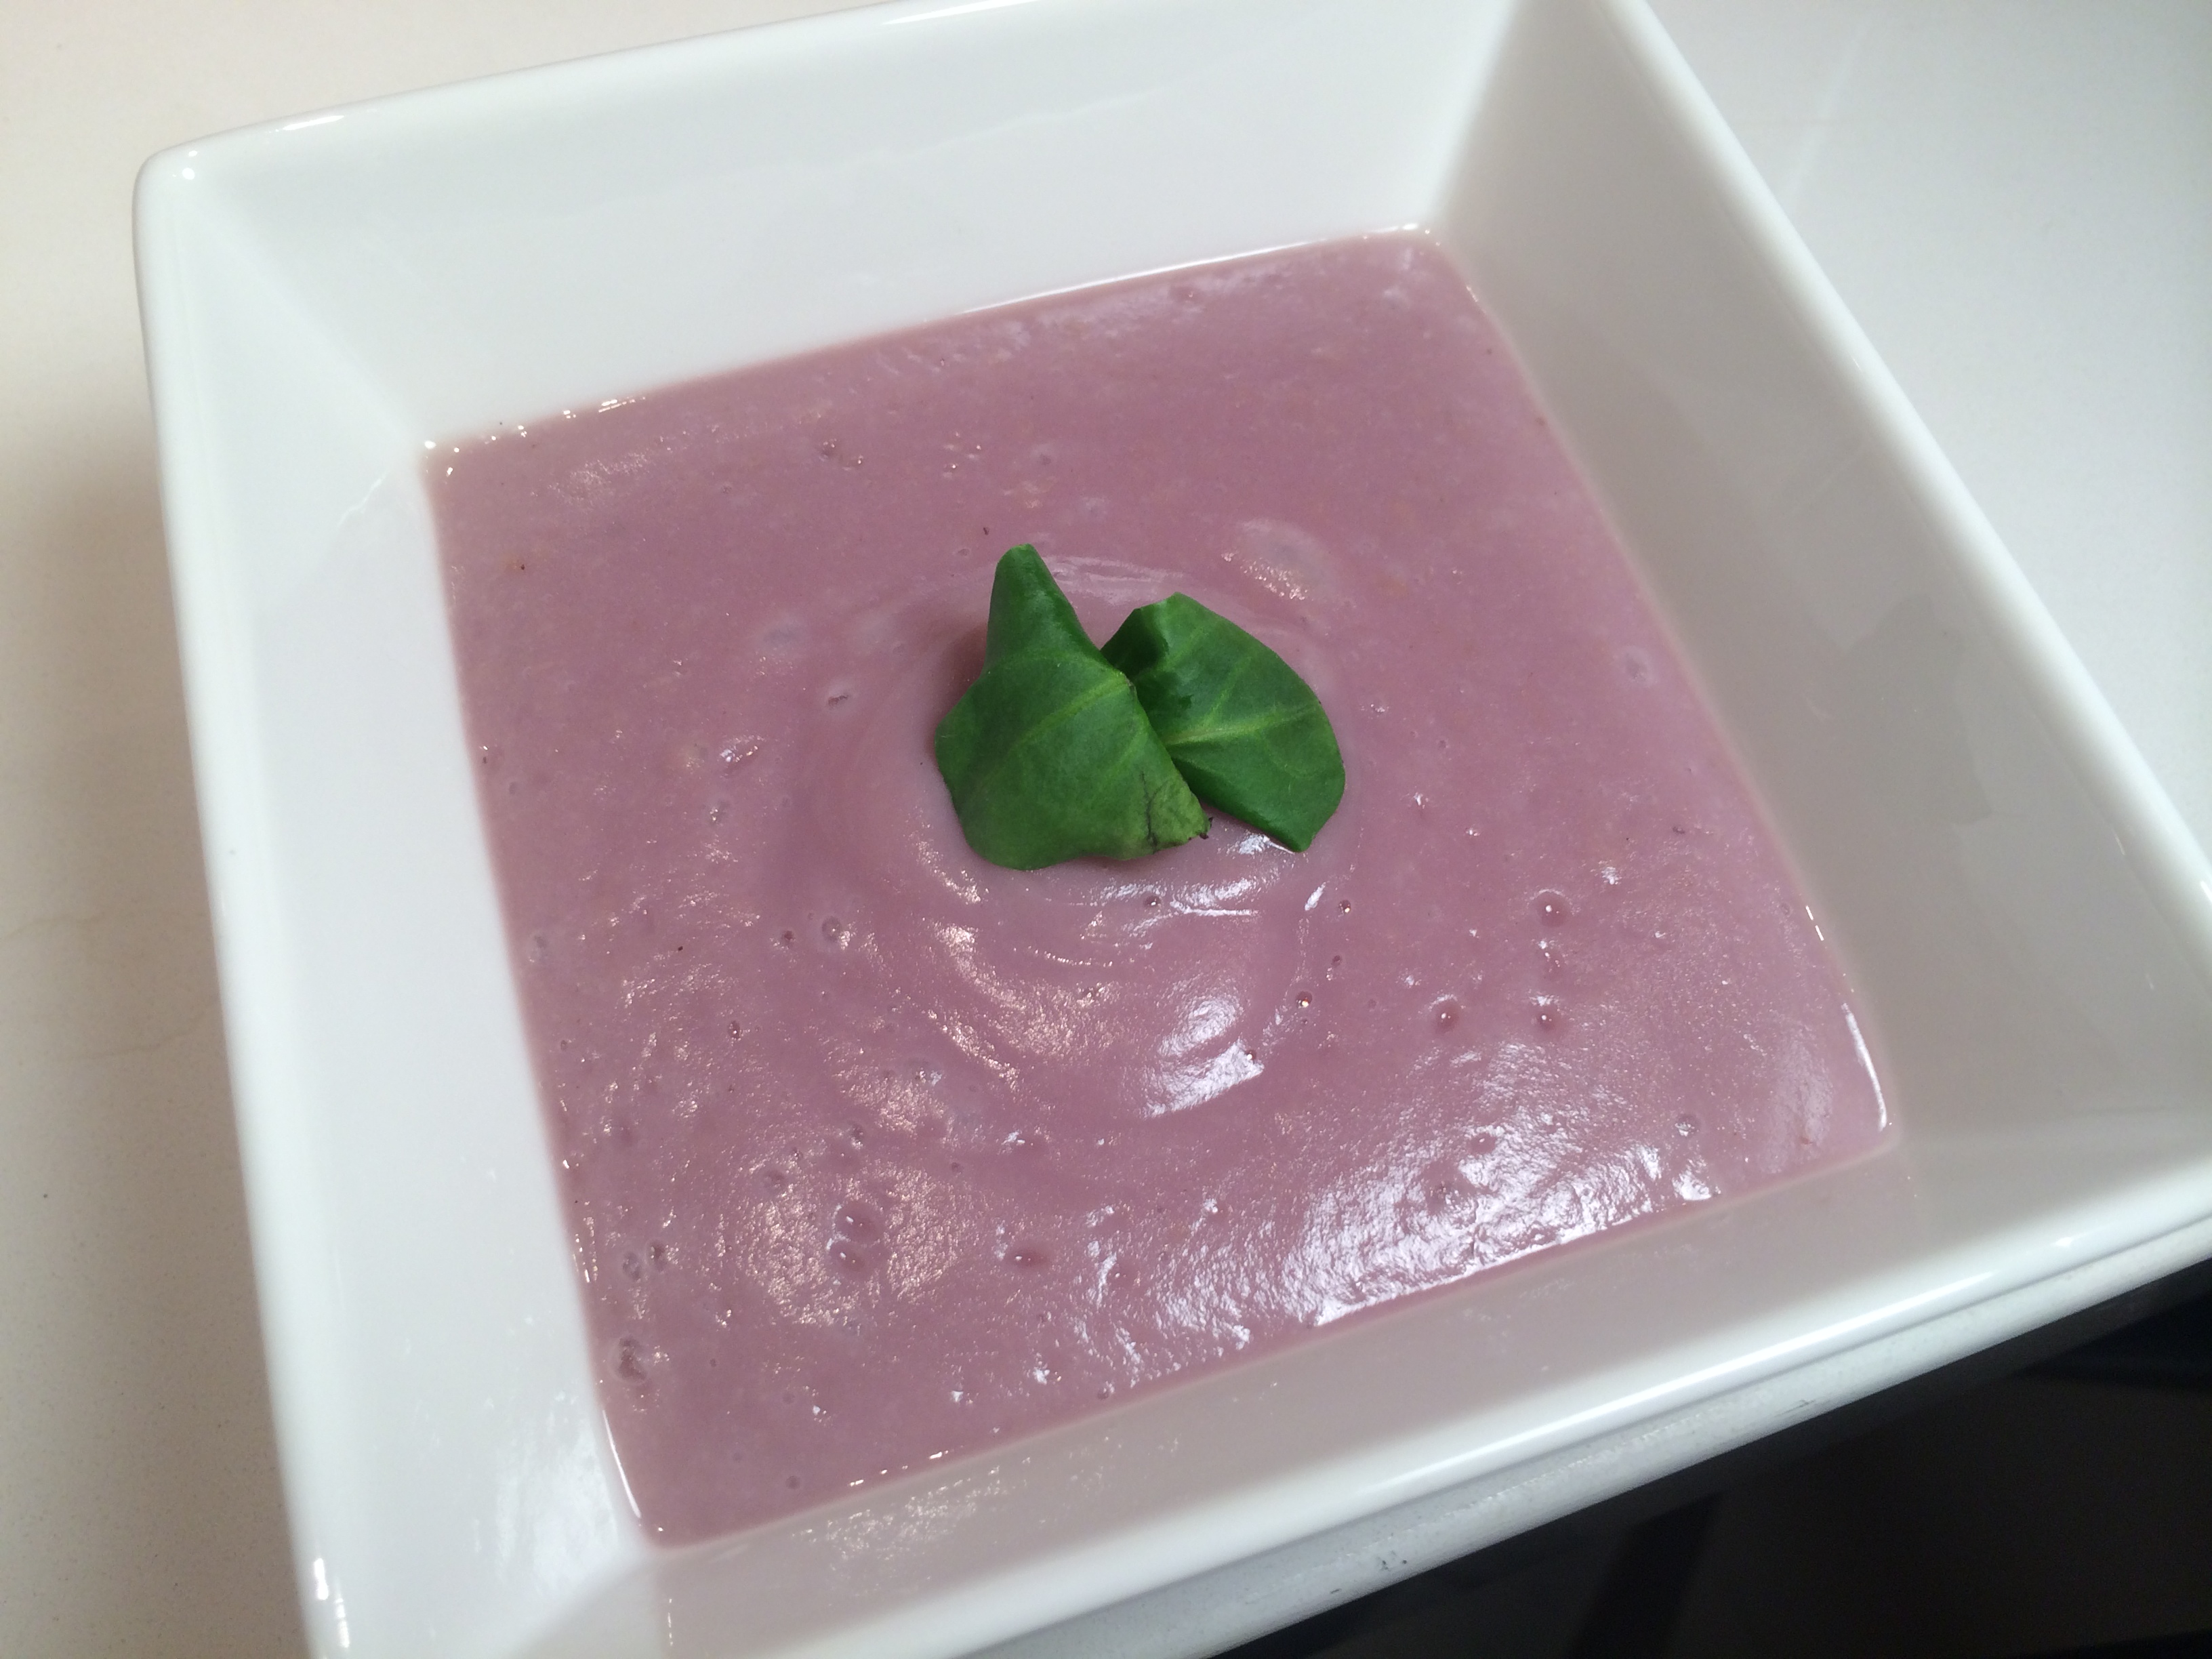
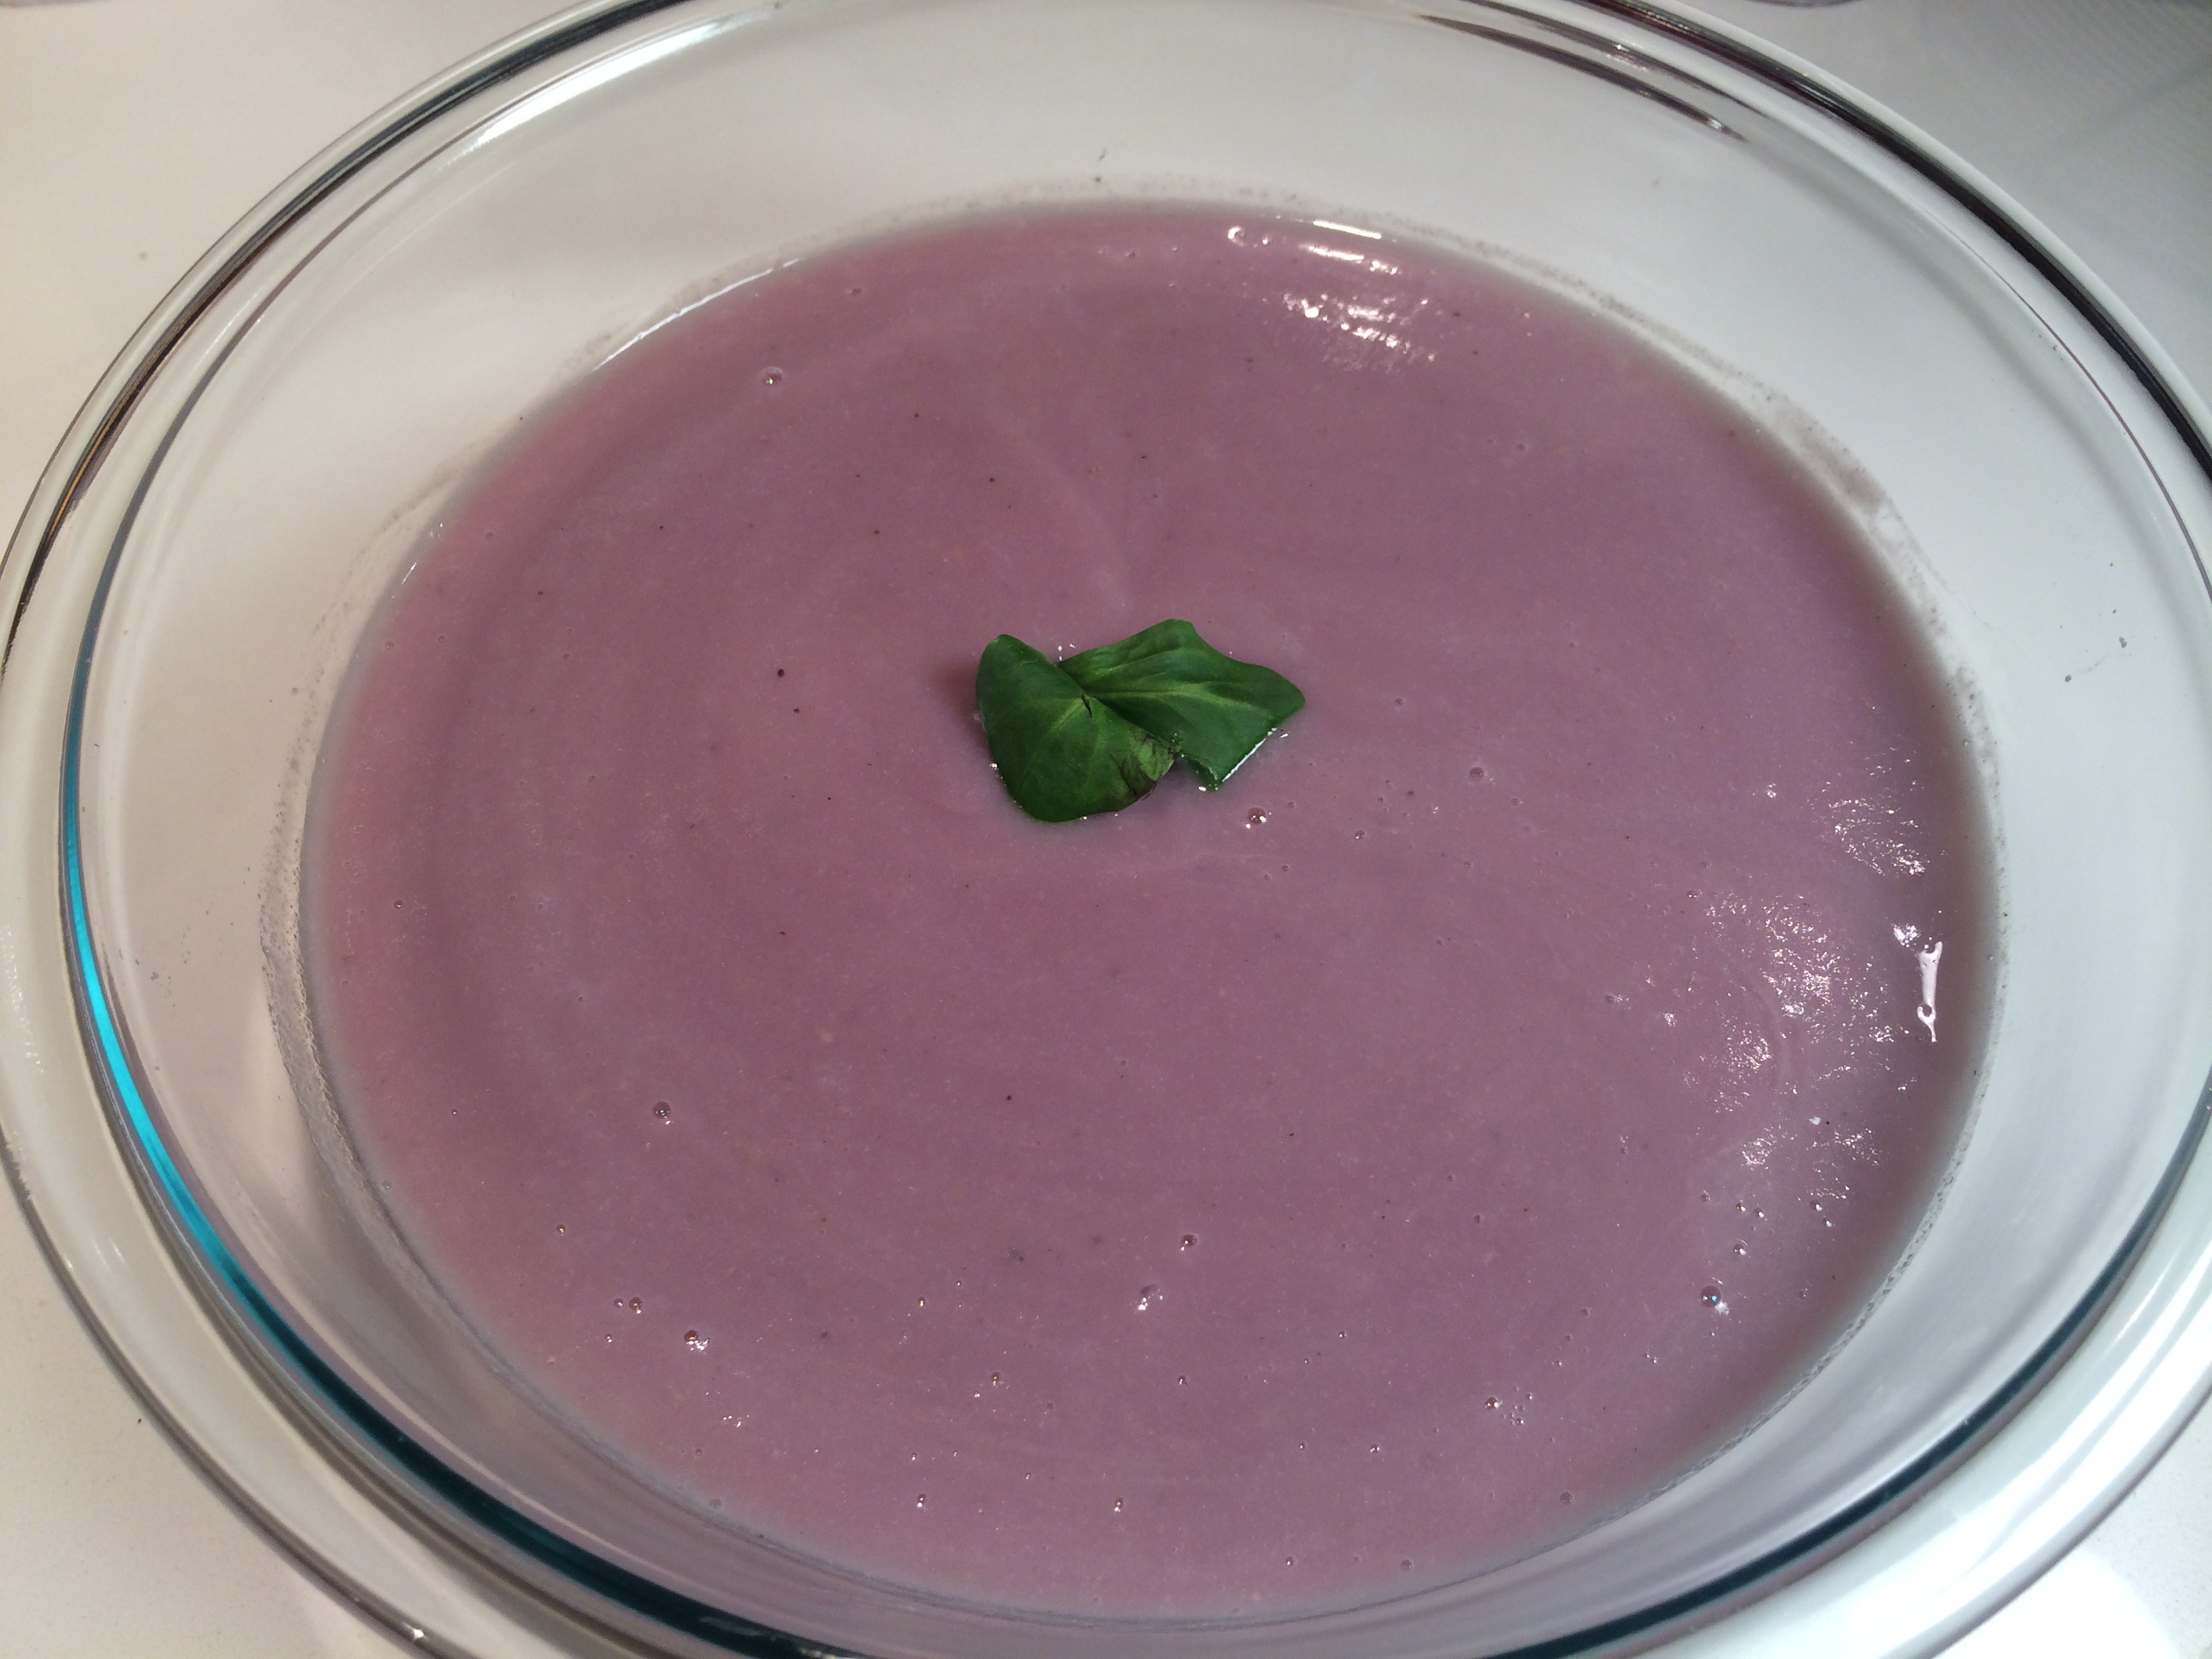
I decided this year to branch out from my go-to recipes and try something different. So, for Friendsgiving, I made roast butternut squash soup. It was so good and so easy! (Recipe on the way). I also made a strawberry rhubarb pie.

Rhubarb Rhubarb: fresh from the market
Rhubarb Rhubarb: isn’t it pretty?

Strawberry rhubarb isn’t a typical Thanksgiving pie. However, it IS summer down here. I’m a sucker for strawberries and rhubarb, especially together and more so in the summer when they’re at their peak. Besides, filling a pie with fresh fruit rather than sugar or custard makes it feel infinitely healthier.. am I right?? Before we get to the recipe, let’s talk about the cardinal rule of pie-making:

Homemade crust is the best crust

The key to a good pie is the crust. It’s the first thing you bite into and the last thing you taste. It introduces the pie and sets the tone for what’s to come. You might not swoon over a pie made with perfect crust and a poor filling, but a delicious filling will never make up for a mediocre pie crust.

A good crust has texture and flavor; it’s something you’d eat even without the filling. A great pie crust complements the yummy goodness it’s transporting into your mouth. Tangy key lime? Go with a punchy graham cracker crust.  Creamy, custard? Try a textured crust made of crushed pecans. Fruit pie? Keep it simple and let the fruit shine.

Making your own pie crust might sound time-consuming and tedious but it’s actually pretty easy. More importantly, once you’ve had a good homemade crust, you’ll never go back to those bland, greasy, unsatisfying substitutes. Why would you want to waste your precious calories, not to mention your delicious pie filling, on something mass-produced and supermarket-bought? Home made all the way!

Easy, 5-step pie crust

This crust is all butter and although it may seem intimidating, it’s really only five steps. Don’t be put off by the big paragraphs for each step. I’m only trying to make this easy for you!

Prep time: 45 mins | Fridge time: 1+ hours or overnight | Cook time: 20 mins | Yields: 2 base crusts or 1 base and 1 top

Ingredients

  • 3 cups of flour
  • 250gms unsalted butter
  • 10 tablespoons ice water
  • 1/2 teaspoon fine salt
  • Pie weights (or lima beans or coins) for blind baking
  • A rolling pin
  • A 9″ pie or springform dish (if you like deep dish pie)

Method

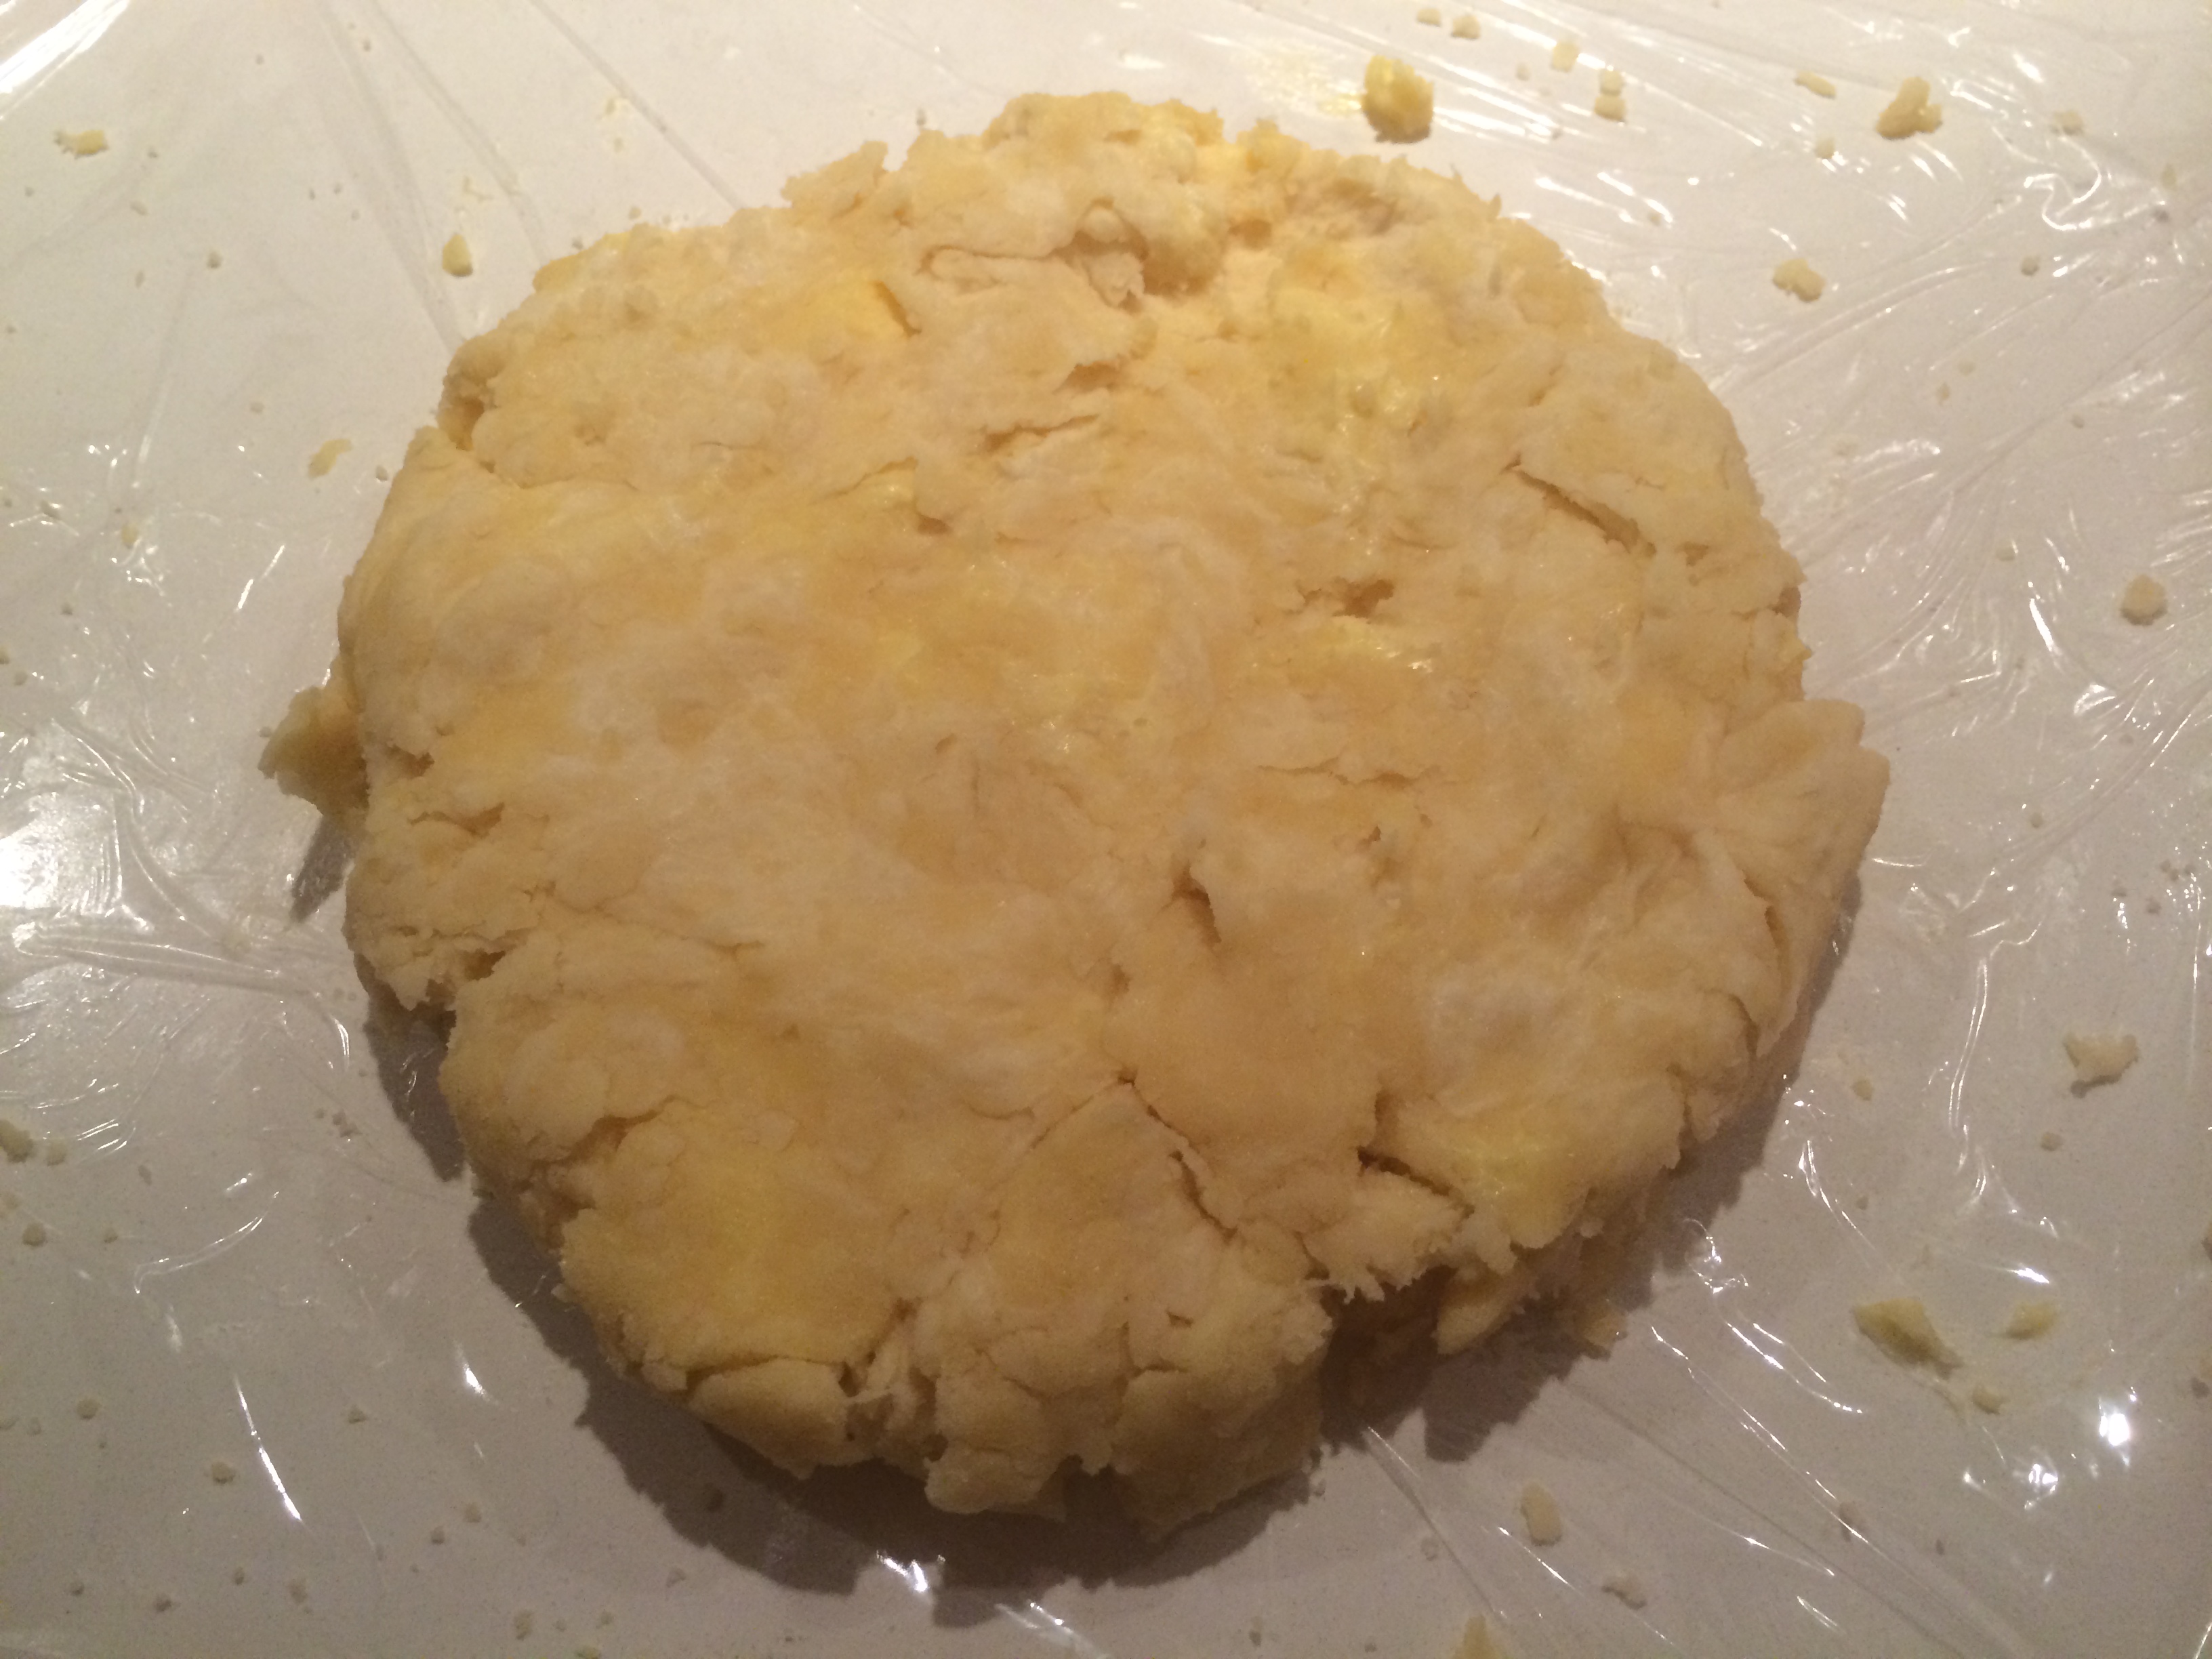
1. First things first: you want your butter to be cold. Not melting, not room temperature, coldThe trick to getting your crust all flaky and textured is to leave chunks of butter intact in the dough. If you let the butter melt or if you overwork the dough, your pie crust will be tough and chewy. So, if your kitchen counter is next to a toasty warm oven, a burning stovetop or a dishwasher, take your butter some place else. Once you’re alone with your butter in a nice cool place, chop it into cubes and stick it back in the fridge.

2. Next, measure 3 cups of flour and 1/2 tsp of fine salt into a large bowl and stir to mix and aerate. Take your chopped butter out of the fridge and begin working into the dry mix. You can use a pastry blender to speed things up here or you can go old school and use your fingers. If you’re using your fingers, I’ll tell you what my 4th grade teacher taught me: wash and dry your hands (duh!) and use only the tips of your fingers! Get your palm in there and you’re sure to create a buttery mess and ruin your dough. Once you’re done, your pre-dough should look like giant crumbs the size of lima beans.

3. Get your ice water out of the freezer and add a few tablespoons at a time, mixing until the dough just comes together. Be very careful not to add too much water and not overwork the dough. Your final dough should be moist but flaky, not sticky. Divide the dough in half, flatten each piece into a disc, cover with plastic wrap and put it in the fridge. You can leave the dough discs overnight or you can ready them for baking within an hour.

photo 4

4. Take your chilled disc out of the fridge and place it on a clean, cool and well-floured surface. Dust the rolling pin with flour and start rolling. The dough is going to want to stick onto the countertop but the trick here is to roll and move. Flip the dough over, move it around, do whatever it takes to keep it from sticking. You’ll want to shape it into a 12″ circle so that it’ll sit in your 9″ pie dish with about 1″ of overhang. Once you’re there, transfer it into your greased and floured pie dish (I like to use a spring form because I’m a fan of deep dish pies) and crimp the edges, using your index finger and thumb. A quick video on fluting here.

5. Finally, you’re going to blind bake your pie crust. The reason you do this is because cooking a fruit filling without a baked crust can lead to soggy crust syndrome. Nuh uh, you don’t want that. So, line the dough with baking paper or foil, and weigh down with pie weights, dry beans or clean coins. I like to use coins because they’re heavy and also good conductors of heat. Place your pie dish in a middle rack and bake at 450F / 220C for 15-20 minutes until the crust starts to look golden brown. Remove and set aside to cool.

Very strawberry rhubarb pie: the filling

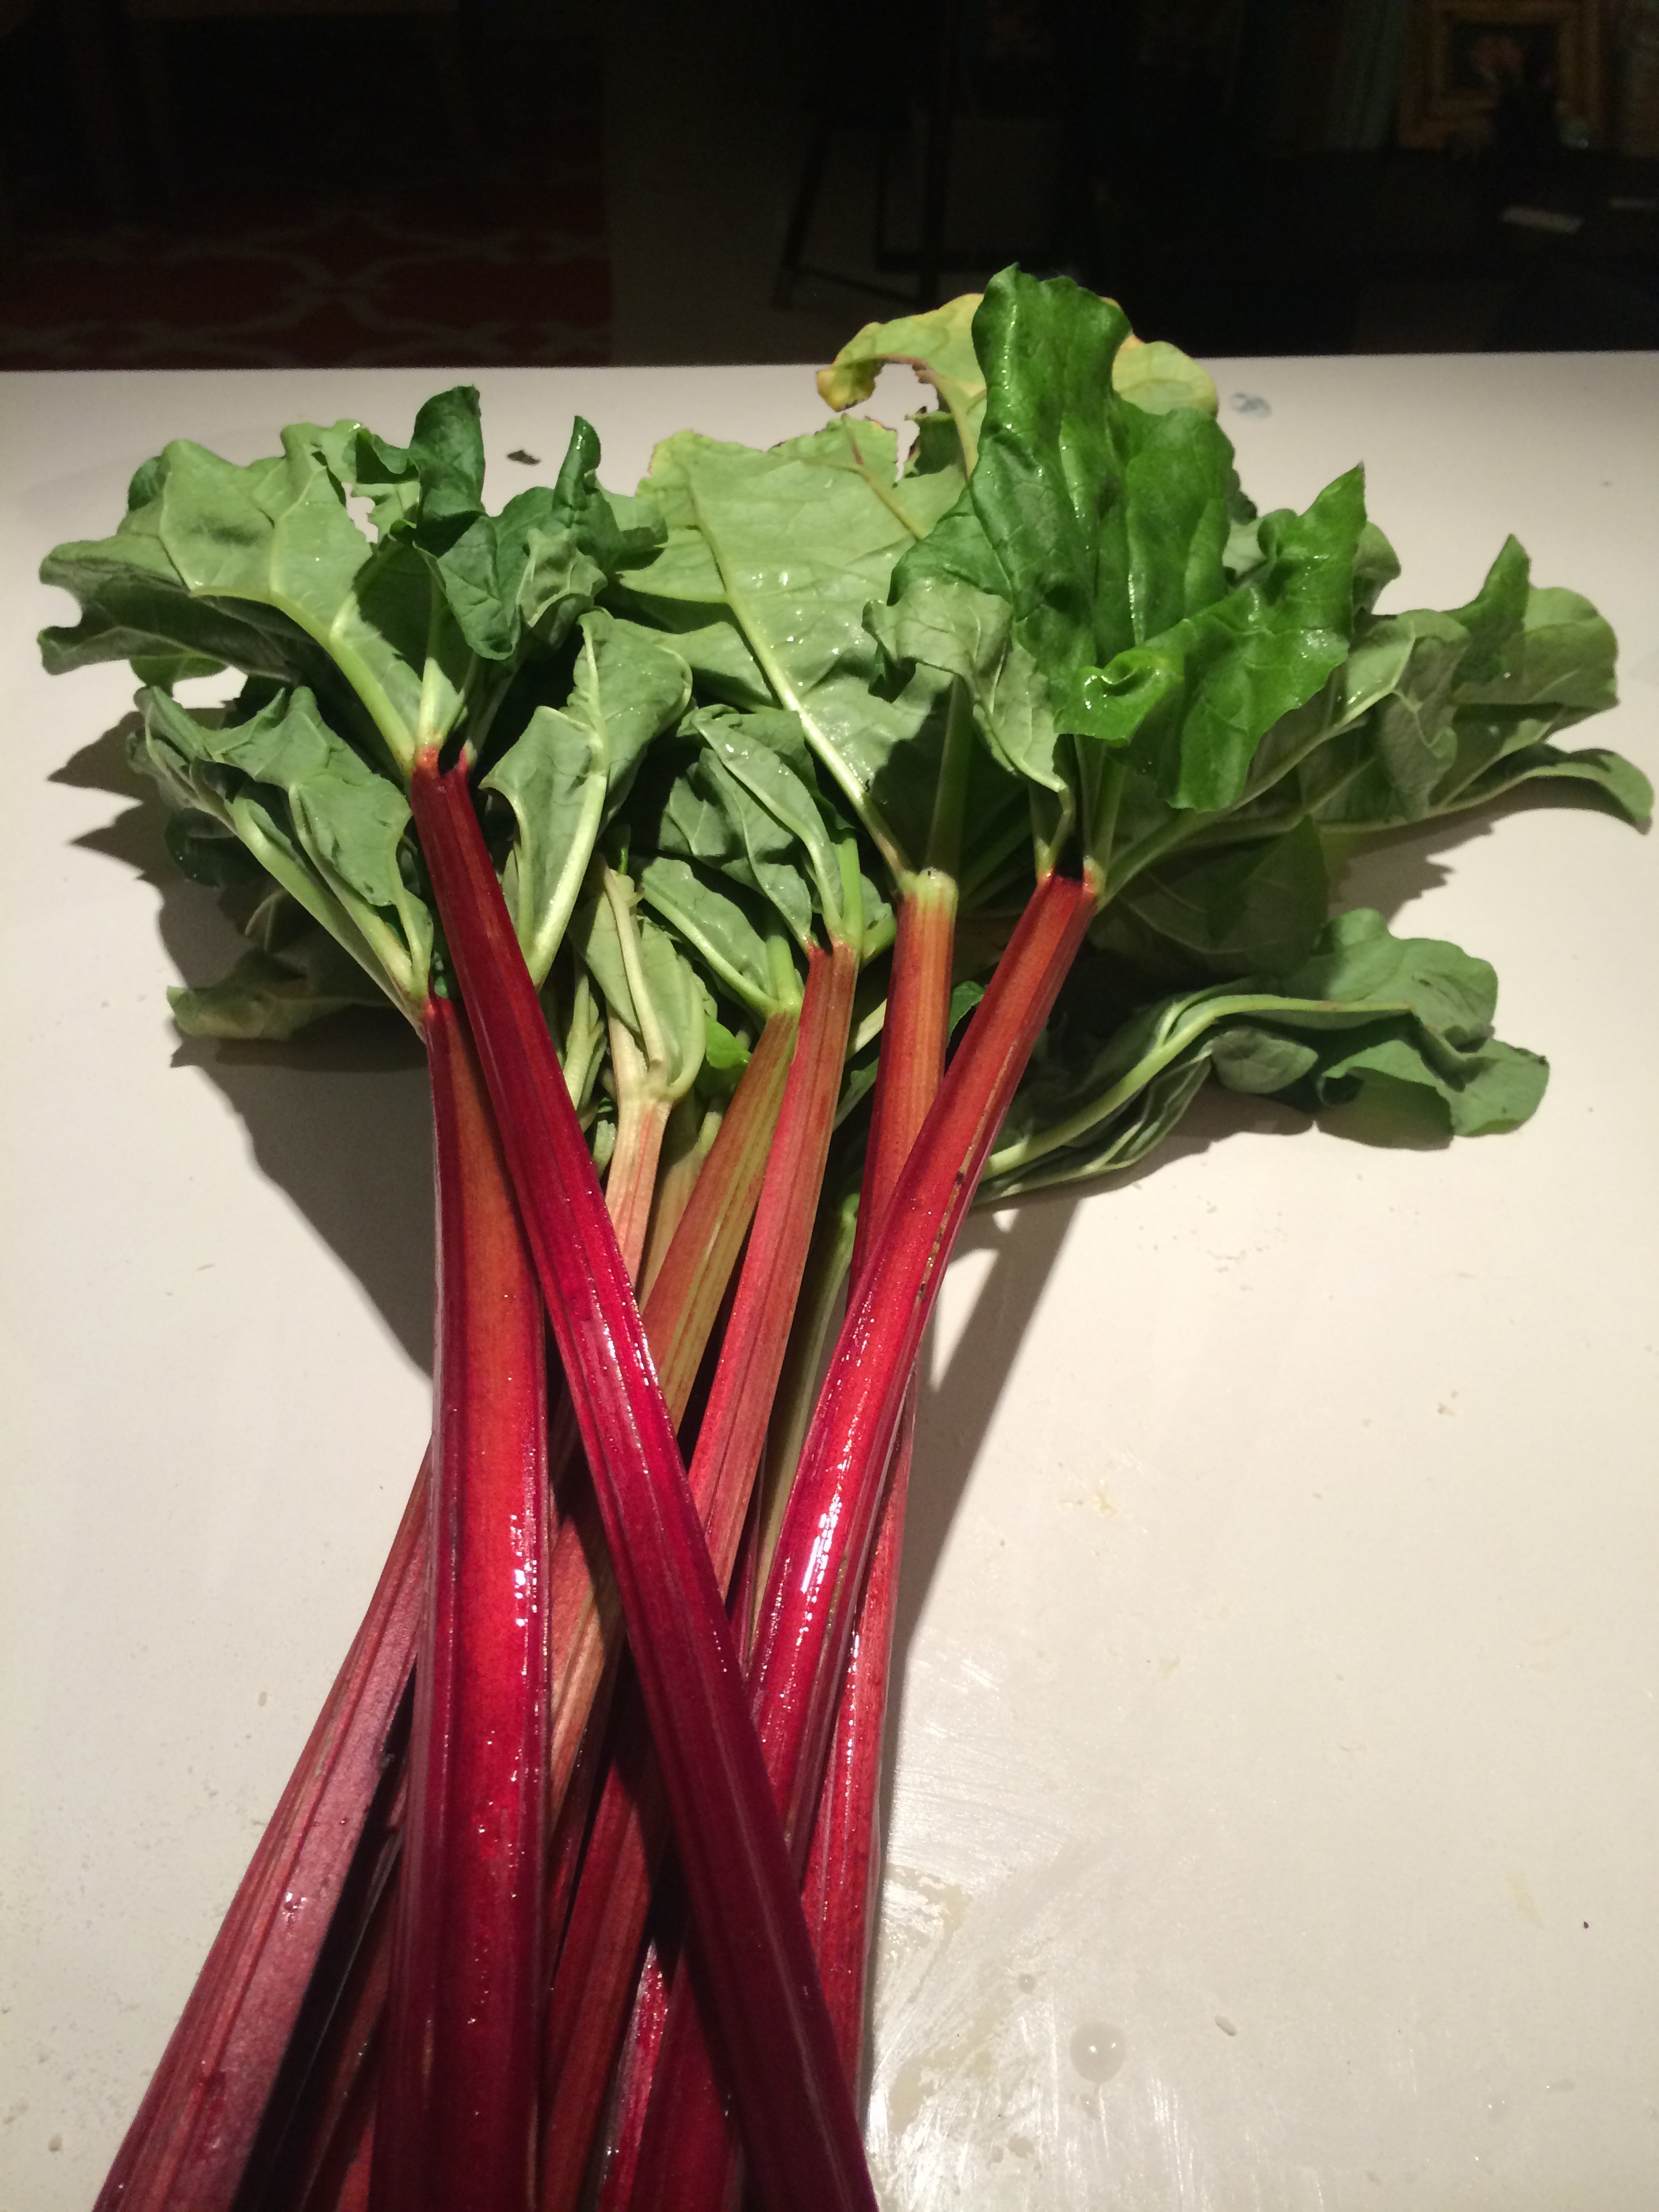
Now that your crust is done, the filling is easy peasy. But first, rhubarb: rhubarb is one of my favourite things. It’s gorgeous, tongue numblingly sour (at least to me) and it reminds me so much of England. Most importantly, rhubarb and strawberries are a match made in heaven. Here’s what you’ll need:

Ingredients

  • 2 cups of unpeeled, diced rhubarb stalks
  • 2 cups of diced strawberries
  • 1-2 cups sugar depending of tartness of fruit
  • 1 tsp orange or lemon rind
  • 1 tblsp butter
  • 3 tblsp cornstarch or arrowroot or 6 tblsp flour to thicken
  • Egg wash or milk
  • Prebaked pie crust (see above)

Combine the filling ingredients in a big bowl and let it sit for 15 minutes. Spoon the pie filling into your pre-baked pie crust. Ta da!

(Psst: the reason the thickener is in there is to prevent your filling from getting runny and soggify your pie. Don’t want that!)

Photo Nov 20, 11 09 03 PM

The last step in your pie baking adventure is the top crust. I opted for a lattice-style design but you can go with something simpler. The NY Times has recently done an amazing pie piece for Thanksgiving and has lots of top crust ideas here.

Photo Nov 20, 11 17 09 PM (1)

Brush the top of your pie crust with milk or an egg wash to encourage browning and bake in the oven at 400F for 30 minutes or until the top is golden brown and the fruit starts to bubble. Enjoy!

Photo Nov 21, 12 15 17 AM

Product of the month: Explore Asian

I know, I know, I’m late with this month’s favorite, but I’m going to try and stick with my plan of reviewing an innovative new product every month.  Given my current obsession with cooking, it should come as no surprise that this month’s favorite is a food. More specifically, it’s a kind of pasta. A low-carb, low-sodium, high-protein, gluten-free, absolutely delicious vegan pasta!

I whipped this up last week (recipe on the way): fresh prawns, asparagus, cherry tomatoes, Persian Feta and mung bean fettuccine. That’s right, those green noodles are made entirely of organic mung beans and water. No processed carbs, no gluten, no eggs. They’re vegan and even qualify as raw. Most importantly, they are absolutely delicious! They cook perfectly al denté and, unlike many refined flour pasta substitutes, they could easily pass for the real thing. How awesome is that?

exploreasianpastas

It gets even better: Explore Asian, the New Jersey-based company behind this innovative product, makes not just one, but five different kinds of bean pasta. I haven’t had a chance to sample their edamame, soybean or adzuki bean spaghetti but I recently used the black bean version in a stir fry and was thrilled with the results.

To understand why this is a truly groundbreaking line of products, lets take a look at how regular fettuccine stacks up against Explore Asian’s mung bean version.

Fettuccine (literally “little ribbon” in Italian) is a flat thick noodle made of egg and flour. It’s popular in Roman cuisine and holds up well with thick, hearty sauces, making it a popular choice for Alfredo and Carbonara.

If you look at any nutritional chart for fettuccine, the “standard” serving size is 2 oz dry noodles or 1 cup cooked. The reality, however, is that most restaurant portions you’ll encounter are far larger.

Screen shot 2014-11-08 at 9.13.12 PM

A 2 oz serving of dry mung bean fettuccine contains more than three times the fiber, nearly three times the protein and 30% fewer calories than regular fettuccine. On top of that, the mung bean version contains almost no sodium and very little fat.

80% of the calories in regular fettuccine come from carbohydrates vs. 37% in mung bean fettuccine. The bulk of calories in the mung bean version actually come from protein (55%) which, amongst other benefits, requires more energy to metabolize and keeps us feeling full longer.

Now, meeting our protein requirements (between 0.8 – 1gm per kg of weight) isn’t a big deal for those of us who eat meat, but for a vegetarian, vegan or someone committed to a raw diet, it isn’t as easy. As I mentioned earlier, this is a product that qualifies as “raw” because the process by which it’s made involves extruding mung bean dough at temperatures lower than 120F. In fact, the noodles can be eaten simply after soaking in water for 36 hours. No heat needed.

Photo by Fresh Beet
Photo by The Fresh Beet

The bean version is also packed with fiber (45% of RDA), and with vitamins A, B, C and E. Made from the mighty mung bean, it is also rich in folate and in vitally important minerals such as calcium, iron, magnesium and potassium. A nutritional powerhouse, mung beans are native to India where they’re popular in fresh salads , as a side vegetable dish and in lentil stews. Mung bean flour can also used to make rotis and pancakes, while in China and East Asia, mung bean paste is often used in desserts. Mung beans have been credited with reducing cholesterol levels and heart disease, supporting liver function and promoting healthy hair, nails and skin.

So, whether you’re gluten sensitive, pre-diabetic or simply trying to eat low-carb and healthy, this is an amazing product to incorporate into your regular meal rotation. It truly is a guilt-free pasta.

Where can I get my hands on this?

If you’re in the US, you should be able to find Explore Asian products at most natural stores and at Whole Foods and even Costco. You can also order directly from their website. The bean spaghettis are priced at an affordable $30 for a 6-pack. Here in Sydney, I was able to get the black bean spaghetti and mung bean fettuccine from Kemenys, a specialty wine and food store in Bondi Beach. I haven’t looked farther afield but reckon you’d be able to get it at most natural food stores here as well.

So, what are you waiting for? Get ahold of some bean pasta and get cracking with those delicious recipes!

Spicy, Crisped Okra: no slime, all taste

Photo: AlJazeera
Photo: Al Jazeera

Okra is one of my favorite vegetables. Growing up in the UK, it was a regular on my family’s dinner menu rotation. We’d eat it crisped, stuffed with spices and fried, or cooked in a tangy tomato curry. It was always finger-licking good. When we’d travel back to India, the extended family would be alerted of my love of this magical vegetable and an okra dish would appear at every dinner party we attended. Delicious! When I moved to the US however, I was shocked to learn that okra is not just unpopular, it’s actually one of the most reviled vegetables out there. As it turns out, cooking okra the way Americans often do, in a Gumbo, releases a gooey substance that makes for an unpleasant slimy texture. So much so, that okra is often referred to as “the slime vegetable”.

sweet-potato-gumbo2
A beautiful Southern Gumbo. Photo by Fat Free Vegan

As you can imagine, this nearly broke my okra loving heart. This slimy vegetable sounded nothing like the tangy, spicy, crispy vegetable of my youth. If you’re stewing, boiling or steaming your okra and then complaining when it turns out gooey, here’s an idea: try cooking it differently! (I can’t help but draw a parallel here with the poor Brussels sprout).

There are so many wonderful okra recipes out there, deep fried okra, okra muffins and even an okra tartlette, that there’s really no reason to stop at something you dislike. I’m going to share with you a wonderfully simple, Indian recipe for okra that results in spicy, perfectly crisped okra. Before we do that though, let’s take a quick look at why okra is so awesome:

1) Okra is loaded with vitamins and minerals.  One cup of okra contains 60% of your RDA of vitamin K, which is essential for proper blood coagulation and helps with bone strength and cardiovascular health. It’s also rich in folate (crucial in preventing birth defects), Potassium (used to build muscle and break carbs down) and Magnesium (essential for protein synthesis and muscle function). Okra can even hold its own against the mighty Brussels sprout.

2) Okra is low in calories

One cup of okra contains only 30 calories. As a fellow blogger puts it, why snack on not-nutritionally dense celery and iceberg lettuce for a low-calorie veggie when you can munch on a nutritionally-dense, low-calorie veggie like okra? Nuff said.

3) Rich in fat-soluble fibre 

Okra is rich in fiber, which is essential for digestive health and keeps you feeling full longer. Perhaps most importantly, soluble fiber from fruits and vegetables helps lower blood cholesterol and reduce risk of heart disease.

Are you sold? Let’s dive in 🙂

Crisped Indian-style Okra with Onions

Photo Oct 29, 2 29 21 PM The dish we’re going to make is known in India as “bhindi bhunjia” (literally, crisped okra) and is my go-to recipe for okra, because it’s quick, easy and has a wonderful tangy kick and a crunch to it. It’s also entirely devoid of slime. Serving the finished okra with some lemon juice and a side of lime pickle really takes this dish up a notch, so if you don’t already own any, I’d recommend buying a jar of Indian pickle and sticking it in the fridge (it lasts forever). If this is your first time cooking with turmeric, one thing to keep in mind is that the darn thing manages to stain just about anything. Be prepared: no white shirts, no white countertops, no white fridges, no white iPhones. Wash your hands thoroughly after handling and, if a spot of turmeric (or okra cooked in turmeric) does get onto your pristine countertop, squirt some dishwashing liquid onto it and let it soak a few minutes before scrubbing.

Ingredients (serves 2)

  • Fresh okra: 20 pods / about 2 cups when chopped
  • Half a white onion: coarsely chopped
  • 1 tsp garlic paste
  • 1 tsp turmeric
  • 1/2 tsp cumin seeds or cumin powder
  • 1/4 tsp red chili powder
  • 2 tbsp mustard oil
  • 1 tbsp lemon juice
  • 1/2 tsp salt to taste
  • Indian lime pickle

Method

Photo Oct 29, 2 12 39 PM 
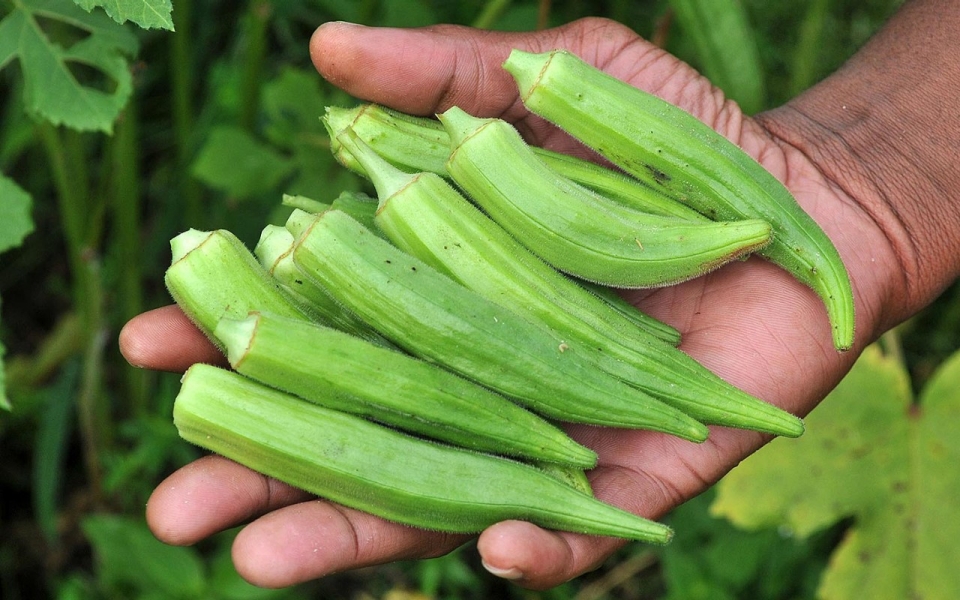
Wash the uncut okra and lay flat on a paper towel. Pat the okra dry. Note** do not slice the okra while it’s wet. More importantly, do not wash the okra once it’s been cut — this is crucial if you are to get crisp texture rather than a soggy one.
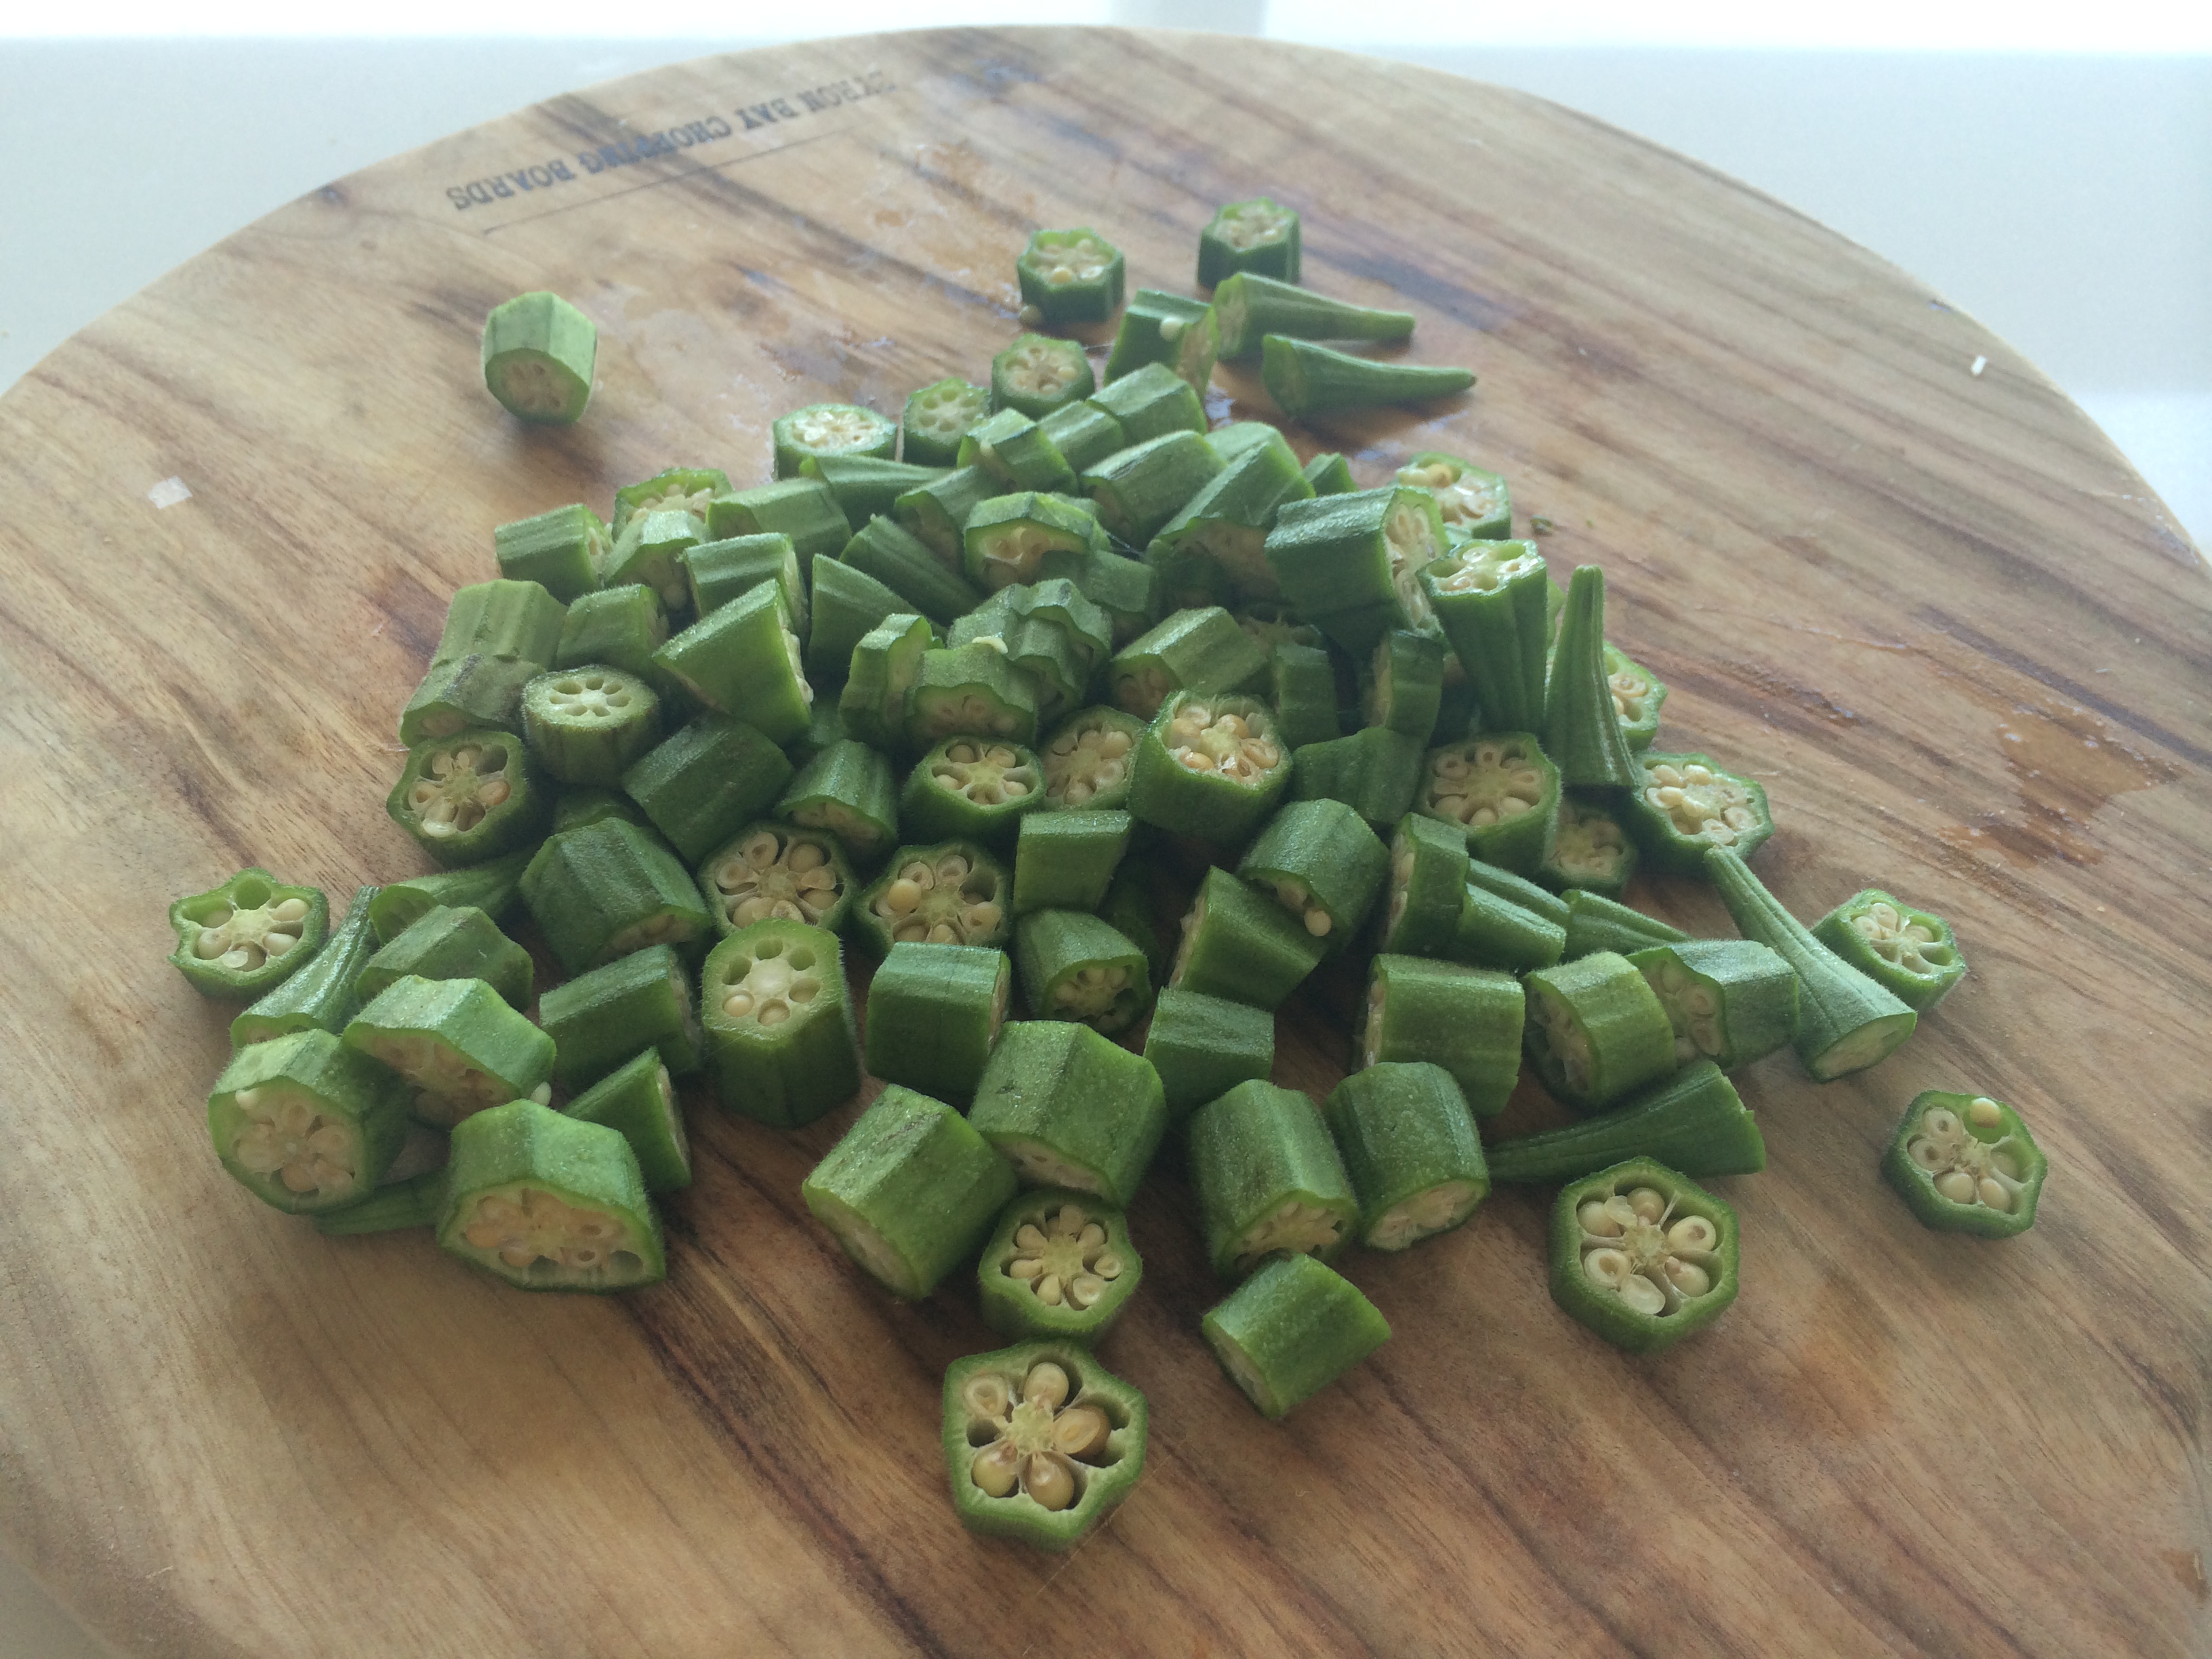
 Photo Oct 29, 2 17 27 PM Slice the tops off the okra and cut the rest of it width-wise into thin, even, slices. The more finely you slice it, the more crispy it’ll be. I cut mine about 0.5cm thick. Coarsely chop half a white onion. Add the mustard oil to a frying pan and heat over medium. Once the oil is hot, add the garlic paste, the turmeric, cumin seeds and chili powder and cook for around 1 minute, using your wooden spoon to ensure the spices are evenly mixed with the oil. Add the chopped onion, coat and cook for a minute. Finally throw in the okra, turn up the heat and mix well. Sauté for a few minutes, stirring constantly. Photo Oct 29, 2 24 07 PM If you don’t want your okra super crispy, turn the heat down, cover the pan and cook for about 5 minutes with the lid on. Otherwise, leave the frying pan uncovered and sauté the okra and onion as you would any other vegetable — stirring and shaking on medium-high heat. You should see the okra and onions starting to brown. Add 1/2 a teaspoon of salt and cook until you have just a touch of charring and a good coat of golden brown spices. Photo Oct 29, 2 25 57 PM Finally, remove the okra from the heat and squeeze a bit of fresh lemon over it before serving. Eat with Indian lime pickle (the tangy citrus really complements the flavor of the okra) and some roti. Enjoy! Photo Oct 29, 2 33 57 PM

Purple Cauliflower Soup

cauliflower
Photo courtesy Newsweek

The cauliflower, like the Brussels sprout, is a much maligned vegetable — the texture is weirdly rigid yet crumbly, the color is boring, the taste is bland and the smell, oh don’t even get me started!

Actually, I’m pro cauliflower, but I can relate to people who aren’t. After all, many of us grew up with steamed or, worse still, boiled cauliflower plopped onto our plates next to mushy peas and carrots at the school cafeteria. It’s hard to shake these early experiences and it’s entirely possible that your distaste for the humble cauliflower is rooted in trauma. Time to let it go. Because…cauliflower is awesome.

Cauliflower may not exude the rustic charm of the heirloom carrot, the accessibility of broccoli or the trendiness of kale, but when it comes to nutritional content, it’s a winner. In fact, this veg is a veritable powerhouse of vitamins and minerals and it’s finally starting to see some of the recognition it deserves, with reports of it being the next superfood and of 2014 being “the year of the cauliflower”. It’s also popping up on gourmet restaurant menus across the US.

Consider the cauliflower

What’s so good about it? For starters, it’s part of the cruciferous family of vegetables, which includes broccoli, kale, bok choy, cabbage, kohlrabi, daikon and yes, Brussels sprouts. Cruciferous vegetables contain glucosinolates, which are responsible for their distinct pungent aroma, but also break down to form active compounds like nitriles and indoles, which are purported to have anti-cancer properties.

Like other cruciferous vegetables, cauliflower is also rich in sulforaphane, a sulfur compound that is credited with benefits ranging from improved blood pressure and kidney function, to detoxification and aiding with digestive health. Sulforaphane has also been linked to a reduction in cancer stem cells and tumor growth.

Cauliflower is also loaded with minerals and vitamins — including vitamin C, vitamin K, beta-carotene and other anti-oxidants and anti-inflammatory nutrients, which can help reduce the likelihood of diseases like arthritis and diabetes. Finally, cauliflower is low in calories and packed with fiber, an added benefit if you’re trying to lose weight. If you’re interested in learning more, two great roundups here and here.

Armed with that knowledge, let’s dive into our cauliflower recipe for the day!

Purple Cauliflower Soup

Photo Oct 20, 7 20 28 PM

I love bright colors in food. Eating the rainbow is a great way to guarantee yourself a good dose of nutrients. (I’m not talking about skittles obviously.)

When it comes to veggies, nothing beats the color purple. Typically, the purple hue in fruit and veg is accounted for by anthocyanins which, you guessed it, are loaded with antioxidants and flavonoids like resveratrol. Naturally, when I came across this beautiful purple cauliflower at the Bondi Road Fruitologist last night, I had to have it!

This soup is creamy, vegan and absolutely delicious. You can eat it hot or cold, in summer or winter and it’ll wow your dinner party guests and charm your kids alike. Let’s go!

Ingredients (serves 4-6)

  • 1 medium purple cauliflower
  • 4 small new potatoes (to thicken)
  • 1 white onion
  • 1-2 cloves garlic or 1 tsp minced garlic paste
  • 1-2 tablespoons olive oil
  • 3-4 cups water or vegetable stock
  • salt and pepper to taste
  • cayenne to taste

Method

Prep your veggies: peel and chop the onion, wash and quarter the potatoes, rinse and break the cauliflower down into smaller florets.

Heat some olive oil in a pot and sweat the onions and garlic until they’re translucent. Don’t let them brown. Once they’re ready, add the cauliflower florets and diced potato. Cook down for 5 minutes, stirring constantly. (My cauliflower florets turned a cool neon blue at this point!) Now add the water or veggie stock until the cauliflower is 2/3 of the way submerged. I like to use regular water and throw in half a bouillon cube. Bring the broth to a boil and then reduce heat, cover partially and simmer for 20 minutes.

Photo Oct 20, 7 57 05 PM

Check on the soup at 20 minutes and add salt, pepper and cayenne to taste. Cook another 10 minutes as needed with the cover removed. Let your soup cool before getting your immersion blender out and working through it. If you don’t have an immersion blender you can use a regular mixer or magic bullet and handle the soup in batches. Transfer to a large bowl and garnish with with whatever you like.

Serve….and enjoy!

Photo Oct 20, 8 46 14 PM

Summer Veggie Quinoa Salad

We were hit by a monster storm earlier this week, but after all the rain, thunder and lightning, it feels like summer has finally arrived. The weather’s been beautifully warm all weekend, the light’s been golden and Bondi has been packed.

Photo by :: uge
Photo by :: uge

Early summer (and early fall) are my favorite times of year. It’s weird to think of mid-October as “early summer”, but that’s how life goes for us here in the Southern Hemisphere. I love this time of year not just for the weather, but for the food. Plump blueberries, bright strawberries, sweet papaya and juicy mangoes have flooded the market aisles. Fresh ears of corn, bunches of kale and piles of multi-coloured tomatoes are overflowing from their crates. Summer is a time of both abundance and lightness. It’s the perfect time for salad.

Here’s the all-star I whipped up today.

Photo Oct 19, 2 19 06 PM
Summer Veggie Quinoa Salad

Isn’t it pretty? I made a big batch and stuck it in the fridge. The worst thing, if you’re trying to eat healthy, is to come home from work or the gym, tired and hungry, and find yourself resorting to Thai delivery. I’ve been guilty of this many a time, so I now use my Sundays to prep for the week ahead and make sure I have something nutritious and filling on hand.

This salad is completely vegetarian and uses quinoa as the base, which means it’ll stay good in the fridge for several days. Quinoa, in case you’ve been living under a rock, is loaded with protein, fiber and minerals. It’s also gluten-free and low GI, which means it’ll keep you feeling full longer. Quinoa is so nutritious that it’s been designated a “super-crop” (not just a super food!) by the UN Food and Agriculture Organization. Demand for the seed has exploded over the last few years and led to price swings and short supply. If you’re cooking with quinoa for the first time, the most important thing to keep in mind is to wash it extremely thoroughly. Unwashed quinoa is coated in saponin, a bitter-tasting substance that protects it from birds and insects. Warning: cooking your quinoa without first giving it a good rinse may result in an unhappy stomach!

tricolour_quinoa
I use a mix of red, white & black quinoa for a lovely nutty flavor and crunchy texture

Alright, disclaimers done, let’s dive in:

Ingredients

  • 2-3 cups of quinoa
  • 4 cups of water (or vegetable broth)
  • 3-4 cups of your favorite summer vegetables (I used a handful of baby roma and yellow grape tomatoes, some green beans, a bunch of purple baby kale, one small cauliflower, four zucchinis and one cup of red cabbage)
  • Persian feta (you could also use goat cheese)
  • Crushed walnuts
  • Garlic and ginger paste
  • Olive oil

Method

Rinse the quinoa thoroughly and place in a big pot with roughly twice the amount of water. I like to throw in a cube of vegetable bouillon once the water heats up. It brings a wonderful flavor to the quinoa and makes it delicious by itself. You could also use homemade veggie stock if you prefer. To cook the quinoa, bring the water to a boil and simmer on low heat until all of it has been absorbed (about 15 minutes).  Fluff and set aside in a big bowl.

In the meantime, prep your veggies. I like to roast my zucchini and cauliflower with a little bit of olive oil, salt and curry powder.  I recently discovered this deceptively simple roasted cauliflower recipe by Summer Tomato and it’s become my go-to. It involves first steaming the cauliflower by covering the roasting tray with some foil and then roasting uncovered to get the florets all brown and crispy. Yum!

This whole process should take you about 20 minutes. I must warn you though that, at this point, you’ll be tempted to devour your delicious roast veggies and leave nothing for your salad. Don’t panic! Just remember to make a bigger batch so that you have enough for now and for later 🙂

Now for the other veggies. When it comes to green beans, I like to blanch them: throw them into a pot of boiling water with some salt, drain with a slotted spoon after 2 minutes and plunge into an ice bath to halt the cooking. Set aside.

Next, throw some olive oil, garlic and ginger paste into a frying or sauté pan and drop in the green beans, the thinly sliced red cabbage and a handful of kale. I used baby purple kale because it doesn’t need slicing or de-stemming and cooks faster than regular kale. Add some salt and give your veggies a good stir. Cook until the cabbage and kale are wilted and tender (5-10 minutes).

Photo Oct 19, 12 40 24 PM
I love these colors

Time to assemble your masterpiece! The quinoa should be nice and cool by now. Crumble a handful of walnuts (or almonds) and stir them through. Next, add your sauteed kale, cabbage and green beans and mix in your roasted cauliflower, zucchini and fresh halved tomatoes. The juices from the veggies will add some depth to the flavor, but we’re not done yet: crack open that jar of Persian Feta and scoop out a big hunk.

Photo Oct 20, 5 56 58 PM
Persian Feta is spelled with two ‘t’s, so as not to upset the Greeks 😉

I’m obsessed with Persian Feta. It’s very popular in Australia and is basically a marinated, less salty and more versatile version of its Greek cousin  — I eat it slathered on Turkish bread, on kebabs / in wraps and as a dip. It works perfectly in this salad because it’s creamy and flavorful but retains its form as you distribute it through the quinoa and veggies. Harris Farms does a beautiful Persian Feta with garlic and dill (not pictured), but if you aren’t able to get it locally, you could sub it with goat cheese or you might consider making your own. A fellow blogger in Paris has an easy guide to marinated feta right here.

Give the whole thing a nice big stir and voilà! Your salad is ready to devour (or to cover and store in the fridge for later). Enjoy 🙂